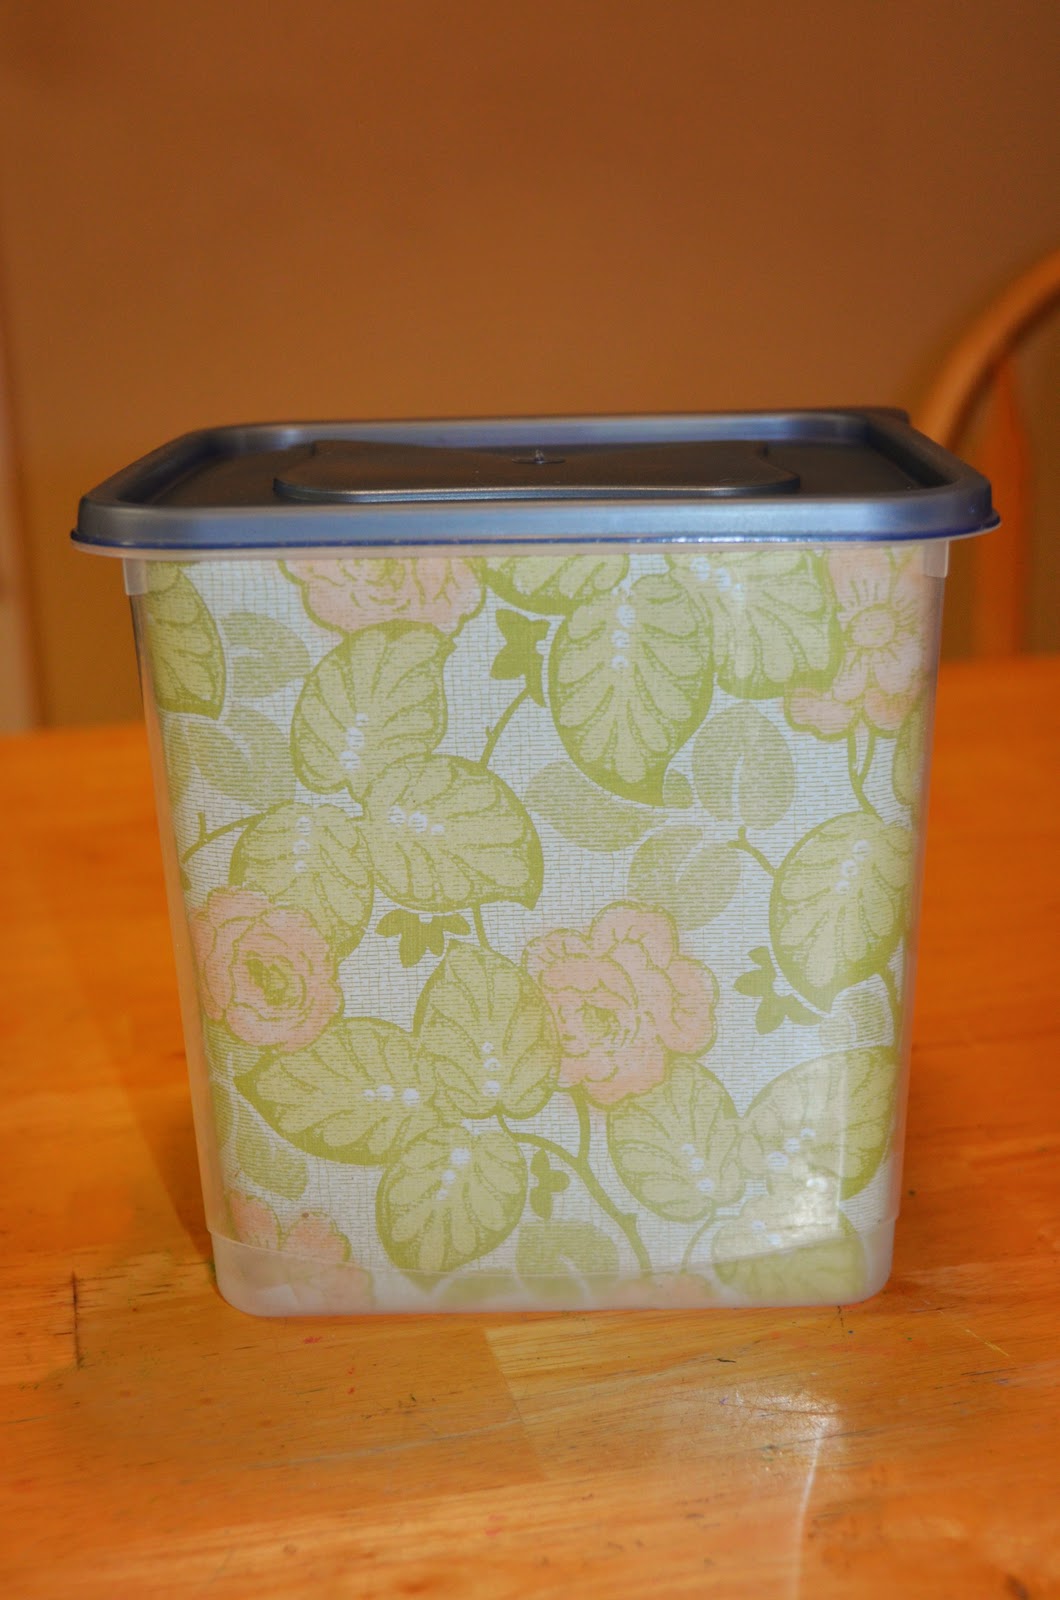
The other day, I was cleaning the kitchen and putting away all the new toys and tools I got for Christmas to help make me a better cook. This called for an almost complete rearrange of the cabinetry! There were two side-by-side cabinets that we would toss medicines into as we needed them. You know.. alongside the plates and bowls.
That's a logical spot, right? No.
I didn't want them to go back into the cabinets, but they still needed to be in the kitchen - accessible, yet out of sight. My daughter was cleaning out the plastic ware cabinet, so I grabbed a large-ish container, and thought....
What You'll Need:
~Plastic container (I'm not sure a circular container would work as well)
~2 sheets of pretty scrapbook paper (or how many you'll need to fit)
~Tape
~Scissors

Fit the paper inside of the container and score, or make a definable marking as to where to cut (I used my fingernail to score, and since my paper was double-sided, it had a nice dotted pattern on the back that made it super easy to cut. Using a pen or pencil for marking would work just as well.). Keep in mind that when you add the lid, it needs to be able to seal closed. When you score or mark where your cut should be, it needs to be just below the lip on the plastic where the lid seals into it.

Fold the paper on the scoreline and cut. If you need more sheets of paper, just use your first measured sheet to cut them all the same size.
**Keep the scissors handy because once you start fitting your paper into the container, you may need to trim a bit since it's not a perfect square/rectangle.


Secure a piece of tape on each end of your paper with the sticky side on the back of your paper, so that the pretty side of the paper is showing through the container. Remember that you are taping it so that very little of the tape ever shows. You'll situate your paper inside the container and tape down. Use the tape to secure the paper in several places, including on the bottom.

If you need to use more than the one sheet of paper, do the same for the other sides.

After you've finished taping the paper inside, it should look something like this.


Secure a piece of tape on each end of your paper with the sticky side on the back of your paper, so that the pretty side of the paper is showing through the container. Remember that you are taping it so that very little of the tape ever shows. You'll situate your paper inside the container and tape down. Use the tape to secure the paper in several places, including on the bottom.

If you need to use more than the one sheet of paper, do the same for the other sides.

After you've finished taping the paper inside, it should look something like this.

**Notice that the tape on the top is pressed down into the crevice so that the lid will still seal properly.

VIOLA! Finished! Now I have a container that can sit in plain view on top of the fridge and hold all of our yucky medicines, and no one will ever suspect that it's a box of decongestants!


MAKE IT YOUR OWN: You could use mod podge and fabric to cover the outside of the container. That would take more time than using paper, but would probably give you a more permanent result. This would also be adorable with children's artwork! If you make your own, I'd love to see it!
{originally posted on my previous blog on 1.1.12}








.JPG)


No comments:
Post a Comment
Thank you for taking the time to fluff my feathers!
Note: Only a member of this blog may post a comment.